Say Goodbye to Handles: The Ultimate Guide to Installing Push-to-Open Latches
Hey there, DIY enthusiasts and home improvement lovers! Are you tired of traditional handles and knobs on your cabinet doors and drawers? Well, we have a modern and sleek solution for you - push-to-open latches! In this blog post, we'll walk you through the step-by-step process of installing push-to-open latches, making your cabinets look seamless and stylish. Get ready to say goodbye to handles and hello to a clutter-free and contemporary aesthetic!
First things first, let's gather all the tools and materials you'll need for this project. Make sure you have your push-to-open latches, a trusty screwdriver, measuring tape, pencil, drill, drill bits, and screws. Once you've got everything, it's time to dive into the installation process.
Start by deciding where you want to install the push-to-open latches. Consider the height and symmetry of your cabinet doors or drawers, and mark the ideal placement with a pencil. We want those latches to be perfectly aligned for a polished look.

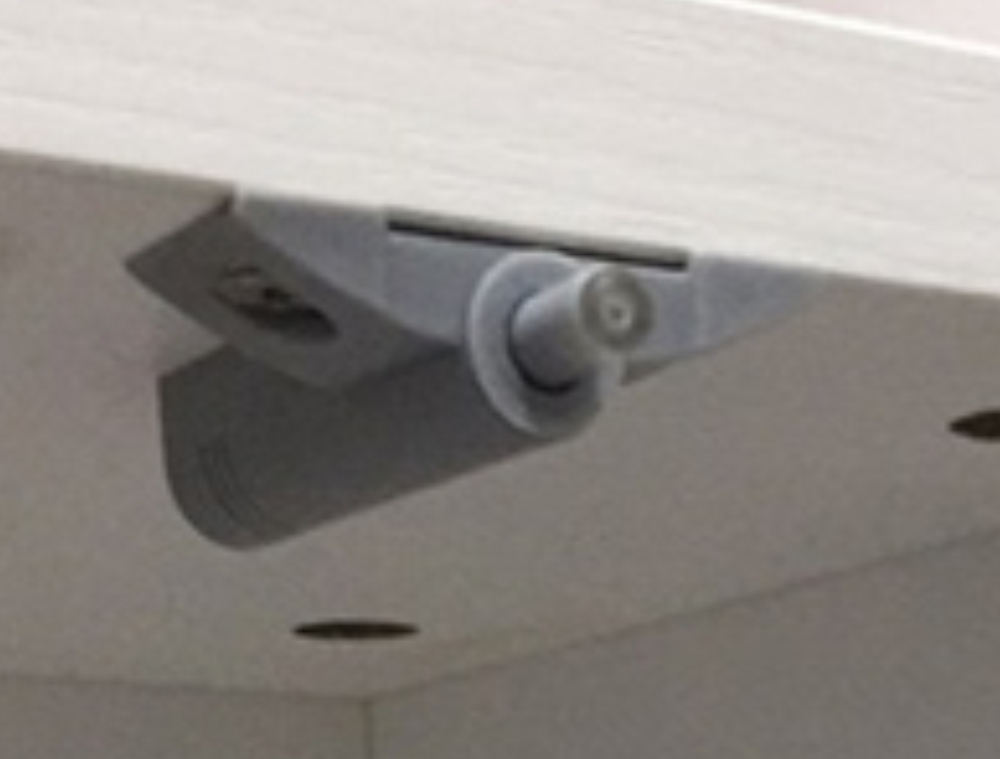
Now, it's time to prep the latch and the door/drawer. Separate the mounting plate from the latch mechanism. Hold the mounting plate against the marked spot, making sure it's level and aligned. Take your pencil and mark the screw hole locations on the surface - these will be your guide for the next steps.
Grab your drill and the appropriate drill bit to create pilot holes at the marked screw hole locations. This step is crucial to prevent any wood splitting when you attach the screws later on. Safety first, right?
Next up, it's time to attach the mounting plate. Align the plate with the pilot holes and securely fasten it to the door or drawer using screws. Make sure it's nice and tight for a sturdy installation.
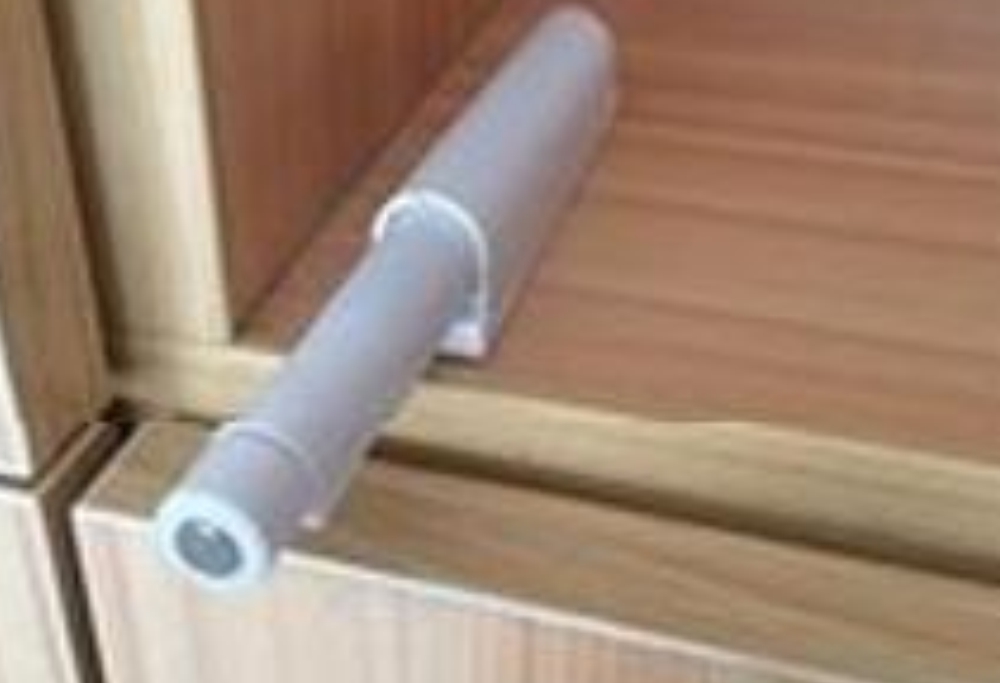
Now comes the exciting part - installing the latch mechanism. Align the latch mechanism with the mounting plate on the door or drawer, and slide it into place. Ensure that it engages properly. Depending on the latch model, you might need to rotate or adjust the mechanism for optimal performance. Don't worry, the manufacturer's instructions will guide you through this step.
With everything in place, it's time to put your new push-to-open latch to the test! Give the door or drawer a gentle push, and voila! It should open smoothly and close securely without any resistance or sticking. If you need to make any adjustments, refer back to those trusty instructions.

Now that you've successfully installed your first push-to-open latch, it's time to repeat the process for your other cabinet doors and drawers. Take your time, measure accurately, and securely attach each latch for a consistent and professional look.
Congratulations! You've transformed your cabinets into sleek, handle-free wonders. Enjoy the convenience and modern aesthetic that push-to-open latches bring to your space. Just imagine the envy of your friends and family when they see your stylish and clutter-free cabinets.
Remember, the key to a successful installation is patience and attention to detail. Take pride in your DIY skills and revel in the satisfaction of completing this project. Say goodbye to handles and embrace the future of cabinet design with push-to-open latches!
We hope this guide has been helpful and inspiring. If you have any questions or want to share your installation experience, feel free to leave a comment below. Happy installing, and may your cabinets always open with a gentle push!
